
For over two decades, network professionals have been helping people maintain reliable internet connections by using proper cable splicing techniques. We started with basic wire splicing methods and evolved to include modern splice connectors that meet TIA/EIA-568 standards. This ensures your network cable splice maintains optimal data transmission speeds without signal loss.
Today, millions of home offices and small businesses rely on Ethernet cable splicing for quick repairs and network extensions. Whether you're dealing with a damaged Cat5 cable, need to repair an Ethernet cable after renovation work, or want to extend your network reach, learning how to splice network cable saves time and money.
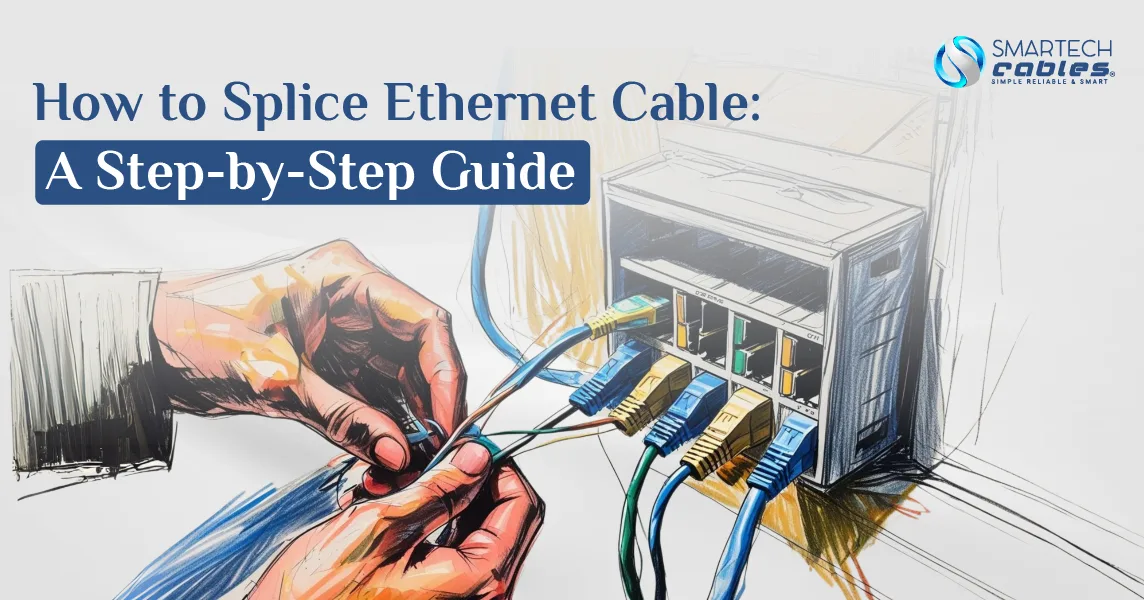
This comprehensive guide covers everything, from selecting the right Ethernet cable splice connector to testing your finished connection. You'll discover professional techniques used by network technicians, safety tips, and troubleshooting methods that ensure your splice works perfectly the first time.
Fundamentals of Splicing Ethernet Cables
Think of Ethernet cable splicing like performing surgery on your network. You're carefully joining two cable segments to create one continuous data pathway. But can you splice an Ethernet cable without losing signal quality? Absolutely – when done correctly, professional splicing maintains optimal network performance.
What Does "Splicing" Mean in Networking?
Ethernet cable splicing involves connecting two separate cable segments to form one continuous connection. Unlike wireless networks that can drop signals, a correctly spliced Ethernet cable provides consistent data transmission. Modern Ethernet cable splice connectors make this process more reliable than ever.
What is the key difference between splicing and using a coupler? Splicing creates a permanent connection, while couplers allow temporary joins. Professional network installations often require splicing to meet TIA/EIA-568 standards for commercial environments.
When You Should (and Shouldn't) Splice Ethernet Cables
Ideal Splicing Scenarios:
- Repairing damaged cables in walls or conduits
- Extending network reach beyond standard patch cable lengths
- Creating custom cable runs for permanent installations
- Emergency repairs during critical network downtime
Avoid Splicing When:
- Dealing with outdoor installations exposed to the weather
- Working with fiber optic cables (requires specialized fusion splicing)
- Temporary connections that might need frequent changes
- Cables that will experience regular movement or flexing
Understanding different cable types helps determine the feasibility of splicing. Cat5e, Cat6, and Cat6A cables all splice effectively, but each has specific performance considerations.
Types of Ethernet Cables You Can Splice
|
Cable Type |
Max Speed |
Best Splicing Method |
Performance Impact |
|
Cat5e |
1 Gbps |
RJ45 connectors |
Minimal with proper technique |
|
Cat6 |
10 Gbps |
Professional splice connectors |
<5% signal loss when done correctly |
|
Cat6A |
10 Gbps |
Shielded splice connectors |
Maintains full bandwidth |
Different Ethernet cables require specific approaches. Cat6 shielded cables need special attention to maintain electromagnetic interference protection.
Essential Tools and Materials for Ethernet Cable Splicing
Professional network technicians swear by quality tools. Your splicing success depends heavily on having the right equipment. Here's what sets professional-grade results apart from amateur attempts.
Professional Splicing Tools
Must-Have Tools:
- Crimping Tool: Professional-grade RJ45 crimpers ensure consistent connections
- Wire Stripper: Precision stripping prevents conductor damage
- Cable Tester: Verifies connection integrity and performance
- Punch-Down Tool: For keystone jack installations
Quality tools make the difference between a reliable splice and a future headache. Invest in tools that meet industry standards – your network's performance depends on it.
Splice Connectors and Couplers
Modern splicing offers several connector options:
|
Connector Type |
Best For |
Pros |
Cons |
|
RJ45 + Coupler |
Quick repairs |
Easy installation |
Slight signal loss |
|
110-Type Punch |
Permanent installs |
Professional grade |
Requires special tools |
|
Tool-Free Splice |
Emergency fixes |
No tools needed |
Lower reliability |
RJ45 inline couplers provide the fastest splicing solution for temporary repairs. For permanent installations, consider professional patch panels that organize multiple connections.
Additional Supplies You'll Need
Essential Supplies:
- Electrical tape or heat-shrink tubing
- Cable ties for organization
- Labels for identification
- Multimeter for testing continuity
Think of these supplies as your network's insurance policy. Proper labeling prevents future confusion, while quality tape protects connections from environmental factors.
Step-by-Step Guide: How to Splice an Ethernet Cable
Ready to splice Ethernet cable like a pro? This comprehensive guide covers three proven methods used by network professionals worldwide. Each technique has specific applications and skill requirements.
Method 1: Using RJ45 Connectors and Couplers
This approach is most effective for quick repairs and temporary extensions. You'll need RJ45 connectors and a quality inline coupler.
Step-by-Step Process:
- Prepare the Cable Ends
- Cut damaged sections cleanly with cable cutters
- Strip the outer jacket back 1 inch from each end
- Untwist wire pairs only at the tips
- Arrange Wires by Standard
- Follow T568B wiring standard: Orange/White, Orange, Green/White, Blue, Blue/White, Green, Brown/White, Brown.
- Keep wire pairs twisted until the last possible moment
- Trim wires to equal length (½ inch from jacket)
- Install RJ45 Connectors
- Insert wires fully into the connector channels.
- Ensure proper color sequence alignment.
- Crimp firmly with a professional tool.
- Connect with Inline Coupler
- Join both RJ45 ends using a quality coupler
- Ensure a secure connection on both sides
- Test immediately for proper connectivity
Pro Tip: Understanding T568A vs T568B standards prevents compatibility issues in mixed network environments.
Method 2: Direct Wire Splicing Technique
Professional installations often require permanent wire-to-wire connections. This method provides the most reliable long-term solution but requires advanced skills.
Advanced Splicing Steps:
- Cable Preparation
- Strip outer jackets back 2 inches
- Identify matching wire pairs by color
- Maintain pair twists for signal integrity
- Wire Connection Process
- Splice matching colors together (e.g., orange to orange).
- Use lineman's splices or professional splice connectors
- Solder connections for maximum reliability
- Insulation and Protection
- Wrap individual wire splices with electrical tape
- Cover the entire splice area with heat-shrink tubing
- Apply weatherproof coating for outdoor installations
This method requires understanding proper cable management to maintain signal quality.
Method 3: Tool-Free Splice Connectors
Modern cable accessories feature innovative, tool-free options that are perfect for emergency repairs.
Quick Connection Process:
- Strip cable ends to the manufacturer's specifications
- Insert wires into the color-coded splice connector
- Press the connector closed until it clicks
- Test the connection immediately
While convenient, these connectors work best for temporary solutions rather than permanent installations.
Splicing Different Cable Types: Cat5, Cat5e, Cat6 Guide
Not all Ethernet cables splice the same way. Each category has unique characteristics that affect splicing techniques and performance outcomes.
Cat5 and Cat5e Cable Splicing
Cat5e cables remain popular for basic networking needs. These cables splice easily but require attention to pair twists for optimal performance.
Cat5e Splicing Considerations:
- Maximum bandwidth: 100 MHz
- Splice loss: Typically under 0.2 dB when done properly
- Best applications: Home networks, basic office connections
When splicing Cat5e cable, maintain the original twist rates. These twists reduce electromagnetic interference and preserve signal quality. Quality Cat5e bulk cable makes splicing more predictable than cheaper alternatives.
Cat6 and Cat6A Advanced Splicing
Cat6 cables support higher frequencies and require more precise splicing techniques. The added complexity pays off with superior performance.
Cat6 Splicing Best Practices:
|
Aspect |
Cat6 Requirement |
Why It Matters |
|
Twist Maintenance |
Preserve to connector |
Reduces crosstalk |
|
Connector Quality |
Cat6-rated only |
Match cable performance |
|
Test Frequency |
Up to 250 MHz |
Ensures full bandwidth |
Cat6 shielded cables need special attention to shield continuity. Properly grounded shields prevent interference that could degrade network performance.
Cat6A Professional Techniques:
- Use shielded splice connectors for shielded cables
- Maintain shield continuity throughout the splice
- Test performance up to a 500 MHz frequency range
- Consider professional installation for critical applications
The difference between Cat6 and Cat6A performance becomes apparent in high-bandwidth applications, where proper splicing is crucial for maintaining signal integrity.
Common Ethernet Cable Repair Scenarios
Real-world cable damage happens in predictable patterns. Understanding common scenarios helps you choose the right repair approach and avoid future problems.
Fixing Cut or Damaged Cables
Construction accidents account for 60% of cable damage in commercial buildings. When disaster strikes, a quick assessment determines the repair strategy.
Damage Assessment Checklist:
- Locate the exact damage point
- Measure remaining cable lengths
- Check for multiple damage points
- Assess environmental factors
Clean Cutting Technique: Use sharp cable cutters to create clean, square cuts. Avoid crushing or tearing the cable jacket, as this can affect the internal wire alignment. Proper termination techniques ensure reliable connections.
Extending Ethernet Cable Length
Network expansion often requires extending existing cables beyond standard patch cable lengths. Strategic planning prevents performance degradation.
Extension Planning:
- Calculate total cable run length (including splices)
- Consider signal loss accumulation
- Plan for future network growth
- Document all splice locations
Remember that Ethernet cable distance limitations apply to total run length, including any spliced sections.
Replacing Damaged Connectors
Connector failure often masquerades as cable problems. Before splicing cables, test the connectors separately to avoid unnecessary work.
Connector Testing Process:
- Visual inspection for bent pins or cracks
- Continuity testing with a multimeter
- Performance testing with a cable analyzer
- Replacement with quality connectors
Understanding connector differences helps choose appropriate replacements for specific applications.
Troubleshooting and Testing Your Spliced Connection
Professional network technicians follow systematic testing procedures to verify the quality of splices. These methods catch problems before they affect network performance.
Testing Tools and Methods
Essential Testing Equipment:
|
Tool Type |
Purpose |
When to Use |
|
Cable Tester |
Basic continuity |
All splices |
|
Network Analyzer |
Performance verification |
Critical connections |
|
Multimeter |
Electrical testing |
Troubleshooting |
Quality patch cables serve as known-good references when testing spliced connections.
Common Splicing Problems and Solutions
Intermittent Connectivity Issues: Often caused by loose wire connections or partial conductor breaks. Re-terminate connections using proper crimping pressure.
Speed Degradation: This typically results from excessive pair untwisting or the use of poor-quality connectors. Maintain original cable specifications throughout the splice.
Complete Connection Failure: Check wire sequence alignment and connector seating. Proper cable testing identifies specific failure points.
Performance Testing Results: Professional installations require performance testing that verifies:
- Wire map accuracy
- Length measurements
- Signal strength levels
- Frequency response characteristics
Understanding network troubleshooting helps identify whether problems stem from splicing issues or other network components.
Best Practices and Professional Tips
Two decades of network installation experience teach valuable lessons about Ethernet cable splicing. These professional insights help avoid common mistakes and ensure long-term reliability.
Industry Standards Compliance
TIA/EIA-568 Standard Requirements:
- Maintain pair twist rates throughout splicing
- Use appropriate connector categories
- Document all connections properly
- Test performance against category specifications
Professional installations follow these standards religiously. Understanding cable rating differences ensures compliance with building codes.
Long-term Reliability Considerations
Environmental Protection Strategies:
- Use appropriate cable ratings for the installation location
- Protect splices from moisture and temperature extremes
- Plan for thermal expansion in long runs
- Consider future networking trends when making permanent connections
Quality materials make long-term differences. Bare copper cables provide superior conductivity and longevity compared to copper-clad aluminum alternatives.
Maintenance Planning: Professional networks require periodic testing and updates to documentation. Create maintenance schedules that verify splice integrity and performance over time to ensure optimal operation and maintenance.
When to Call Professionals: Some situations exceed DIY capabilities:
- Complex multi-cable installations
- Fiber optic connections
- Code compliance requirements
- Mission-critical network segments
Understanding your limits prevents costly mistakes and ensures optimal network performance.
Conclusion:
This comprehensive guide demonstrates that Ethernet cable splicing is a valuable skill for both network professionals and DIY enthusiasts. With proper tools, techniques, and adherence to industry standards, splicing provides reliable solutions for cable repairs, extensions, and permanent installations. Whether using RJ45 connectors for quick fixes or professional-grade direct splicing for permanent solutions, success depends on maintaining wire pair integrity, using quality materials, and following systematic testing procedures. While simple repairs are DIY-friendly, complex installations may require professional expertise to ensure optimal performance and code compliance.
FAQs
Is it okay to splice an Ethernet cable?
Yes, it's perfectly okay to splice an Ethernet cable when done correctly using proper techniques and tools. Professional splicing ensures optimal network performance and is commonly used for repairs, extensions, and permanent installations, particularly when adhering to TIA/EIA-568 standards.
Does splicing an Ethernet cable reduce speed?
Properly executed splicing has a minimal impact on speed, typically resulting in less than 5% signal loss for Cat6 cables and minimal loss for Cat5e when using correct techniques. The key is maintaining proper wire pair twists, using high-quality connectors, and adhering to professional splicing methods to preserve signal integrity.
Can you cut and rejoin an Ethernet cable?
Yes, you can cut and rejoin an Ethernet cable using several methods, including RJ45 connectors with inline couplers, direct wire splicing, or tool-free splice connectors. Clean cuts and proper wire arrangement following T568B standards ensure reliable reconnection.
Can an Ethernet cable be split into two?
The guide doesn't cover splitting one cable into two separate connections, as this would require specialized equipment, such as network switches or hubs. Standard splicing techniques join two cable segments into a single, continuous connection, rather than creating multiple outputs from a single input.