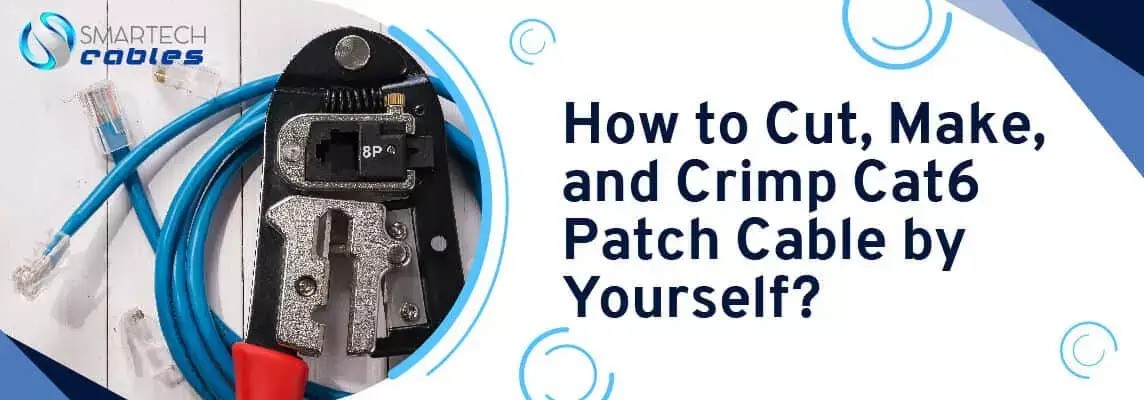
This goes without doubt that purchasing Ethernet patch cables from the store is the most convenient and easy way of solving networking issues. But where’s the fun in that? If you are using Cat6 Cables, why don’t you make cat6 Patch Cables all by yourself?
The process is simple. All you need to do is to read this article and follow it step-by-step.
Gather All Equipment
You need to collect the following equipment to make Cat6 cable: RJ45 connectors, cat6 ethernet cables, cable boots, cable cutters, crimp tool, Cable strippers, measuring tape, network tester, and a strong cup of coffee.
Length Measurements
In a bid to save cable waster, you need to handle length matters with meticulous attention. When measuring lengths, don’t forget to add about 4 inches for plugs on each end. For longer lengths, the measurement factor becomes of immense importance as it directly affects the data transfer rates. As far as Cat6 cables are concerned, they support a data transfer rate of 10Gbps at lengths of 50 meters whereas the same decrease to 1Gbps over a distance of 100 meters. Therefore, you have to ensure that your cable length does not surpass the 100 meters limit.
Strip the Cable
From the end of the wire, measure out 2 inches. Then place your Cat6 Ethernet Cable in the cable strippers. Snug the cable but don’t do it too tightly. Ensure that the blade of your wire stripper lies perpendicular to the wire. To score the sheathing of the cable, turn the stripper around the wire for once. Now you will remove the stripper and bend the ethernet cable along the scoreline. As a result of this action, sheathing will be broken. Pull off the broken sheathing from the Cat6 cable and throw it away.
Preparing Inner Cables
Once you have pulled off the sheathing, the copper conductors are no longer twisted together in 4 pairs. The next step involves organizing the conductors for the data plug. T-568B and T-568A are 2 configurations that are mostly used these days. We recommend you use the following configuration moving left to right:
- White Orange
- Orange
- White Green
- Blue
- White Blue
- Green
- White Brown
- Brown
After configuring cables, you will straighten them; straighten them as neat as you can. At this stage, you do not need to worry about even lengths, just divert your whole attention to straightening up the cables. However, when you are trimming the wires through cable clutter, you have to ensure that all wires are even.
Crimp The Connectors to The Cable
Now you will insert your cat6 cable in the RJ45 Connector. Once you have inserted the wires into the Network Cable connector, make sure that sheathing should be inside the data plug’s end; this will make signal strength stronger and keep them safe from hindrances. Pinch the cable higher and move it towards the connector as doing so moves sheathing further into the RJ45 connector. Now insert the plugin the crimping tool and press the handle. Repeat the same on the other end.
Testing Phase
Now test your patch cable using testers. If the results are perfect, you are all good to go.


